

EC2 Instances Secure connection.
Amazon EC2 (Elastic Compute Cloud) is an AWS service that allows users to rent virtual servers in the cloud. However, gaining access to these instances requires a secure method of communication. In this comprehensive guide, we will discuss the process of connecting to your AWS EC2 instance using SSH for Linux and PuTTY for Windows.
Launching an EC2 Instance
1.Go to the search bar and search, ec2.

Click on launch instance.
Give your server a name and choose Ubuntu, free tier eligible in the application and OS images.
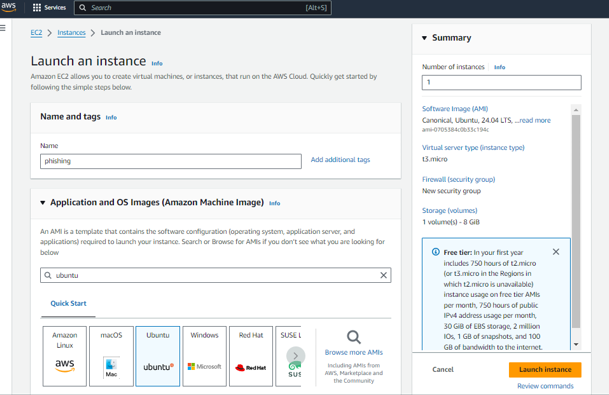
For the instance type, choose the free tier. Under key pair, click create new key pair and store this file securely as this file will be used to connect to the server securely using ssh.

Click create key pair.
In Networks section, under the security policy, click the checkbox to ensure you receive traffic from HTTP and HTTPS, then click on launch instance.
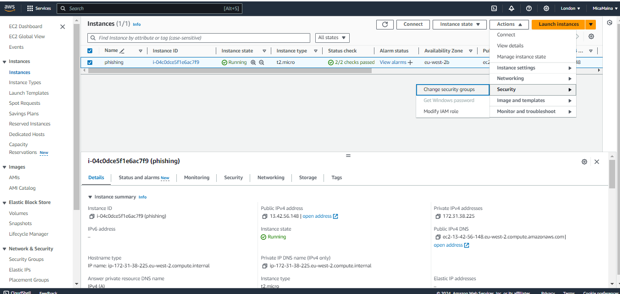
2. Under network & security, click on security groups. Then click new security group.

Choose a name and description. Then click ‘Add Rule’ on inbound rules.

Leave the rest and click create security group.
Go back to your instances and checkbox the instance you created. Then click on actions > security > change security groups.
It is good practice to not opening ssh port to all ip addresses.
Delete the default security group and search for your security group that you just created.

Then click add security group. Click save.
Click the checkbox of the instance and click connect. Navigate to the SSH client.
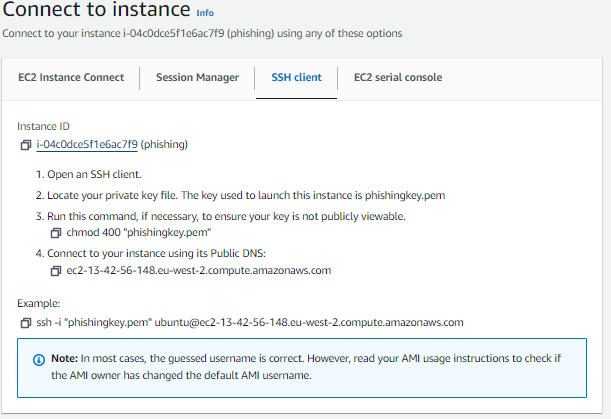
Open command prompt and navigate to where you stored your key. If the downloaded key is in the downloads folder. Navigate to downloads folder using this command-> cd Downloads. Once you are in the downloads folder, go back to your instance and copy the link in the example part. Paste it as it is.
Connect EC2 instance using PUTTY for Windows
If you want to connect to the EC2 instance using windows, first download PUTTY. Click link
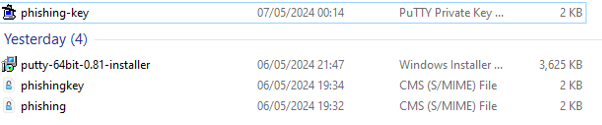
Then open PUTTY generator, and click on load to load the key file that was downloaded on AWS. Under file names change to ‘all files’.

Then click ‘save private key’. The key will be saved as PUTTY private key instead of S/MIME file.
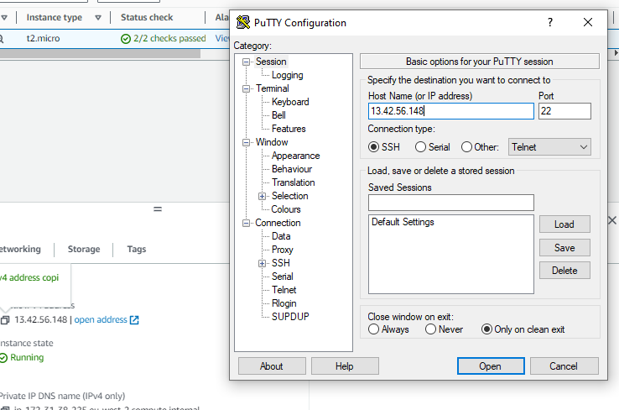
Now open the PUTTY configuration, search it as Putty in the search bar.
Put in the ip address of the instance. Then go to SSH and click on it(the box). A new list appears, click on Auth, browse for your private key.
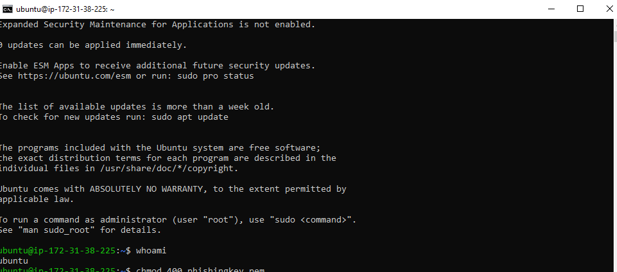
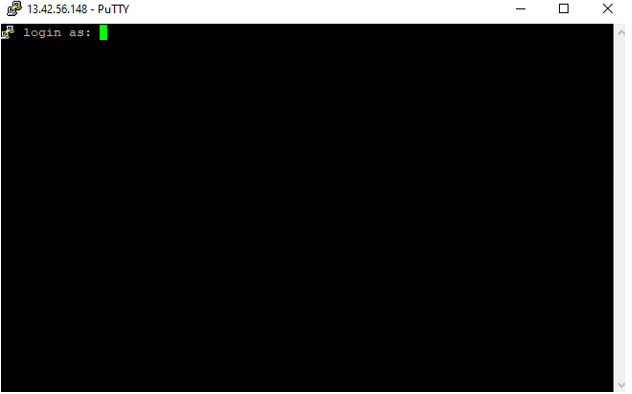
Login as ‘ubuntu’


Leave a Reply